HX-T6-Z1
-
Product Introduction:
HX-T6-Z1 is a low-voltage controller that uses advanced PWM control technology to control various 2-wire dual white temperature constant-voltage LED lamps, such as: CCT LED strips, line lights, panel lights, etc., The LEDs can be dimmed or toned according to the needs of the application to make the environment more harmonious; this product adopts 2.4G wireless remote control and excellent synchronization technology, which can realize the wireless synchronization of all controllers. It can also be
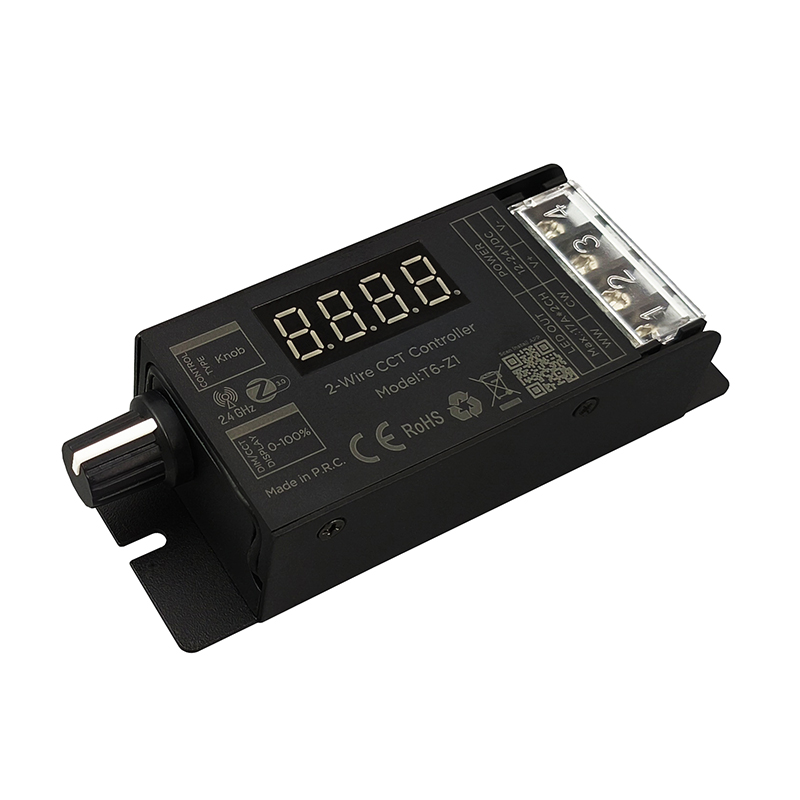
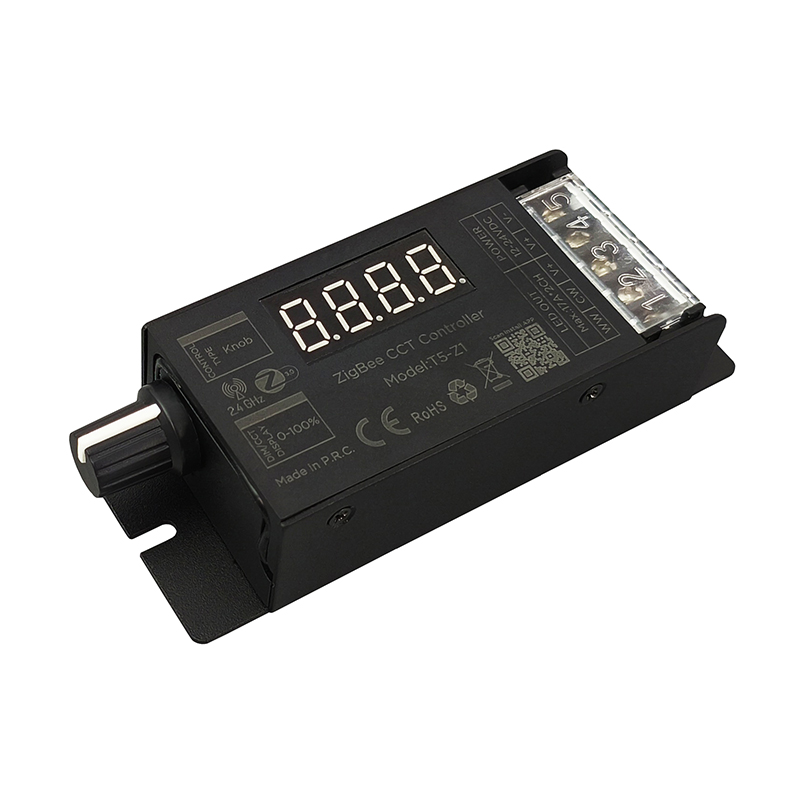
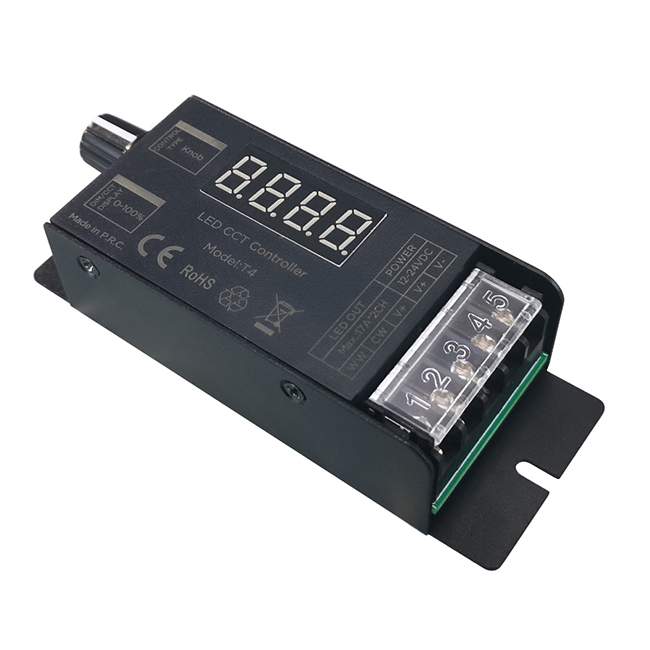
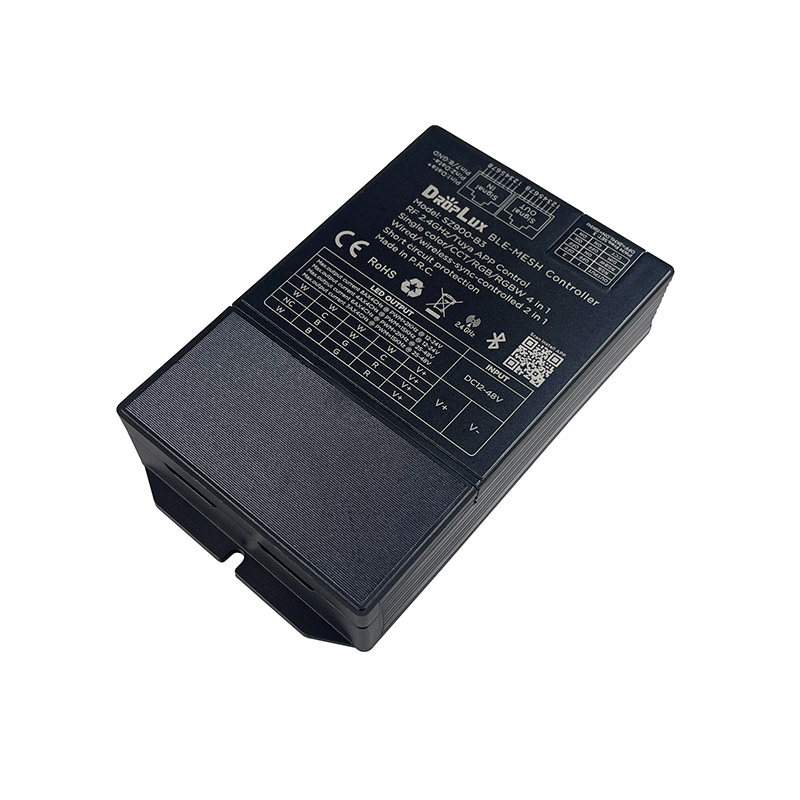
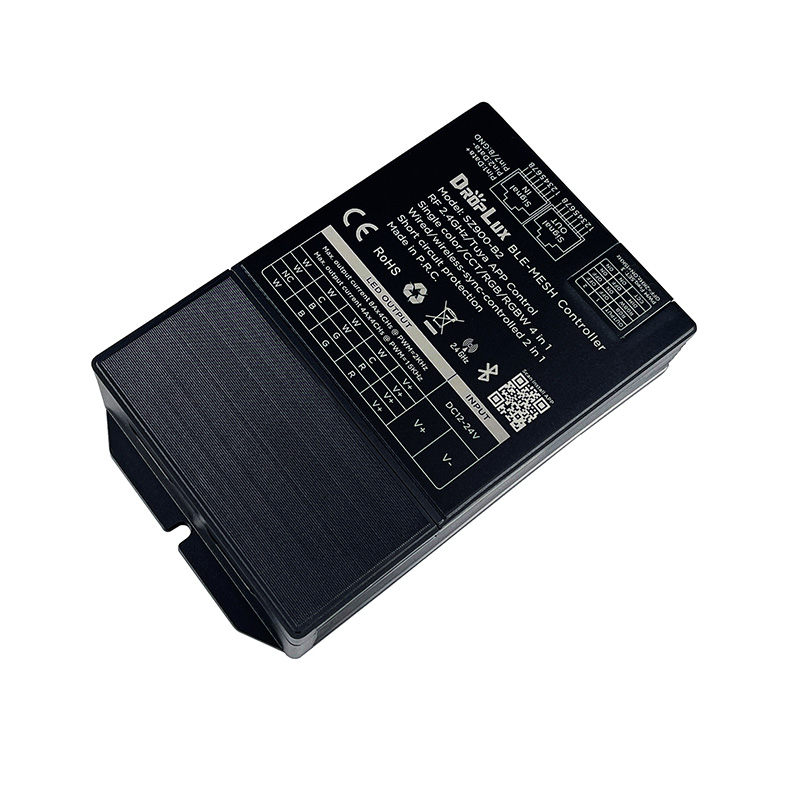
Product Details
Product Feature
1. It is a constant voltage controller for 2-WIRE CCT LEDs, working voltage is DC12-24V;
2. With power-off memory storage function;
3. The PWM frequency is adjustable, 500Hz-12KHz, the factory default is 2KHz;
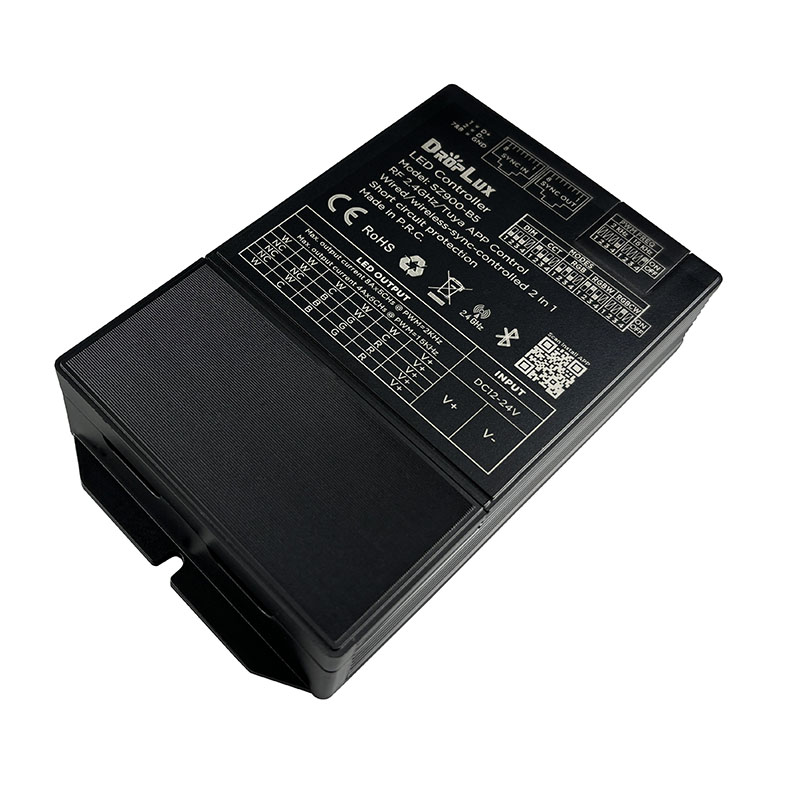
4. With high power watt output, the maximum current is 17A/CH, 12V200W/24V400W;
5. External antenna, convenient to extend the antenna outside the metal case when needed.
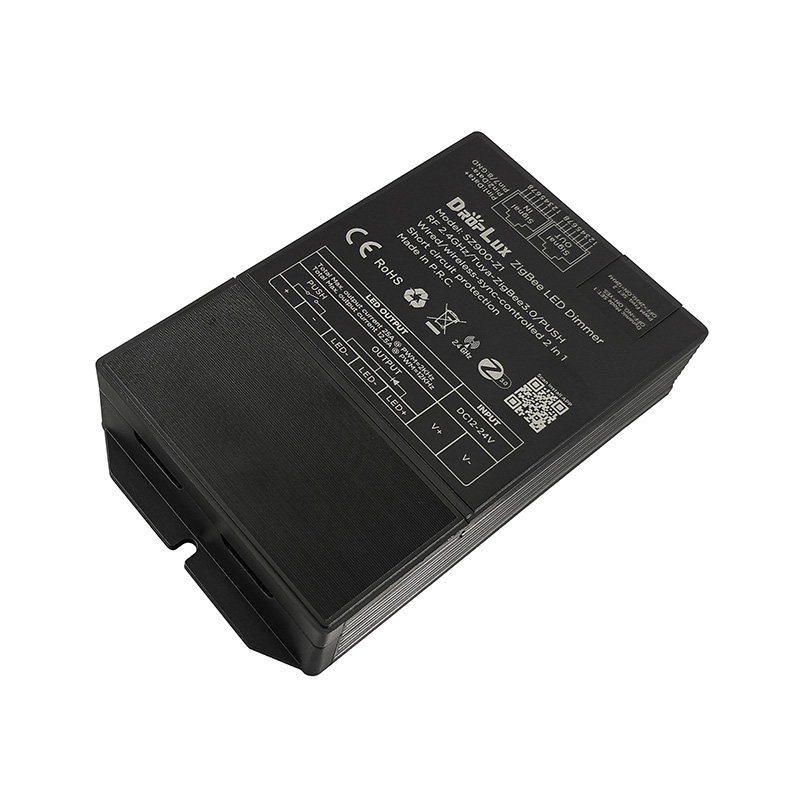
6. This product is designed the Tuya-ZS2S module and complies with the ZigBee 3.0 standard protocol. It needs to be used in conjunction with a ZigBee 3.0 gateway. The performance of Zigbee 3.0 will enable users to experience a high-quality and stable wireless intelligent system. It can also be connected to smart home hubs such as Amazon Alexa, Apple Home, and Google Assistant through smart gateways/bridges integrated with the matter-Zigbee protocol, such as the Philips Hue bridge and the Samsung SmartThings Station.
7. Integrated with multiple remote controls, it can be used in any combination to achieve single zone or partition control.
8. Short-circuit protection.
9. 3-year warranty.
Technical Parameters
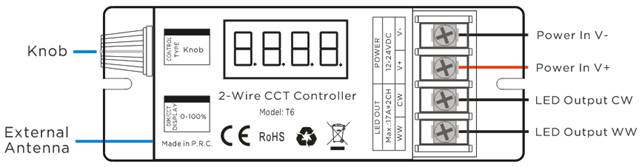
Connection port instruction
Direction for use
2) When adjusting the color temperature, the color temperature display of the digital tube: C***, total 100 levels , from C000 to C100, means 100%WW-100%CW;
Tips: The factory default of PWM frequency is 2KHz.
PWM Frequency Adjustment operation :
1) by HX-RFBT-2.4G remote control: Press and hold the remote control “Set” for 5 seconds after switch off the dimmer by remote control(the dimmer is in off state) within10 seconds, display will show as: P***. Means enter “PWM adjusting” state. Pressing to adjust the PWM frequency, pressing “Set” button again to save it after finish the setting operation. Then the dimmer return to power on state automatically.
2) by HX-RFBT10-2.4G remote control: Press and hold the remote control “Set” for 5 seconds after switch off the dimmer by remote control(the dimmer is in off state) within10 seconds, display will show as: P***. Means enter “PWM adjusting” state. Press Brightness +/- keys to adjust the PWM frequency, pressing “Set” button again to save it after finish the setting operation. Then the dimmer return to power on state automatically.
3) by HX-RFBT12-2.4G remote control: Pressing DIY1->DIY2-> DIY1->DIY2-> DIY1->DIY2 (3 times for each) within 5 seconds after switching off the dimmer by remote control, display will show as: P***. Means enter “PWM adjusting” state.; press ∧/∨ to adjust the PWM, pressing “DIY1” button again to save it after finish the setting operation. Then the dimmer return to power on state automatically.
4) by HX-RFBT15-2.4G remote control: Pressing C->D->C->D->C->D (3 times for each, C-matching key, D-clearing key) within 5 seconds after switching off the dimmer by remote control, display will show as: P***. Means enter “PWM adjusting” state. Rotating the knob to adjust the PWM frequency, pressing “C” button again to save it after finish the setting operation. Then the dimmer return to power on state automatically.
5) by Knob button on controller: long press the knob button for 5 seconds to enter PWM adjustment, the digital tube of the dimmer will display P***, then turn the knob to select PWM, and then short press the knob to save after selection.
Please note: PWM setting operation should be finished within 1 minute, will automatically exit PWM adjusting status without save it after 60 seconds.
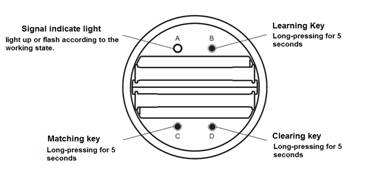
Reset and network configuration
This product uses the Tuya-ZS2S module and complies with the ZigBee 3.0 standard protocol. It needs to be used in conjunction with a ZigBee 3.0 gateway. The performance of Zigbee 3.0 enables users to experience a high-quality and stable wireless intelligent system. It can also be connected to smart home hubs such as Amazon Alexa, Apple Home, and Google Assistant through smart gateways/bridges integrated with the matter-Zigbee protocol, such as the Philips Hue bridge and the Samsung SmartThings Station.
Note: The application expandability of the intelligent system requires the compatibility of the gateway simultaneously.
When configuring the network, first connect the load light and power supply to the ZigBee 3.0 controller, and place it close to the ZigBee 3.0 gateway. The device has 2 reset methods, and you can choose according to your convenience:
(1) Power on the controller continuously five times, with each power-on duration not exceeding 10 seconds. You will see the load light flashing, and the device will enter the network configuration state.
(2) If the device has been configured for the network before, when it is in the connected state, you can directly delete the device on the mobile APP where it was previously added. You will see the load light flashing, and the device will enter the network configuration state.
When the device successfully enters the network configuration state, the load light will keep flashing until the network configuration is successful, or it will exit the flashing prompt state after flashing continuously for 30 seconds (the network configuration state will continue for up to 10 minutes).
When you can view the device on the mobile APP, it means that the network configuration is successful.
Examples of Network Configuration Applications
Note: The application expandability of the intelligent system requires the compatibility of the gateway simultaneously.
Wireless-synchronization function
Receivers will transmit the control signals from the remote control and self-inspection the work statues for each other, so multiple receivers in same zone will wireless-sync-work completely.

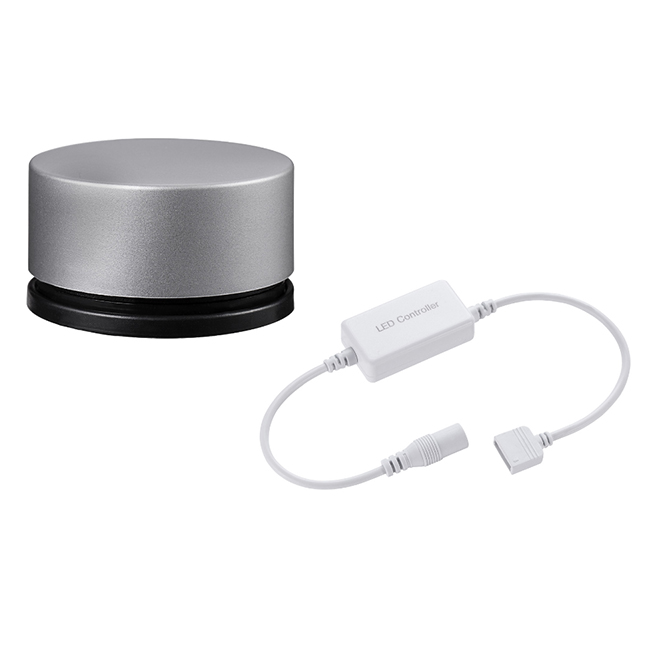
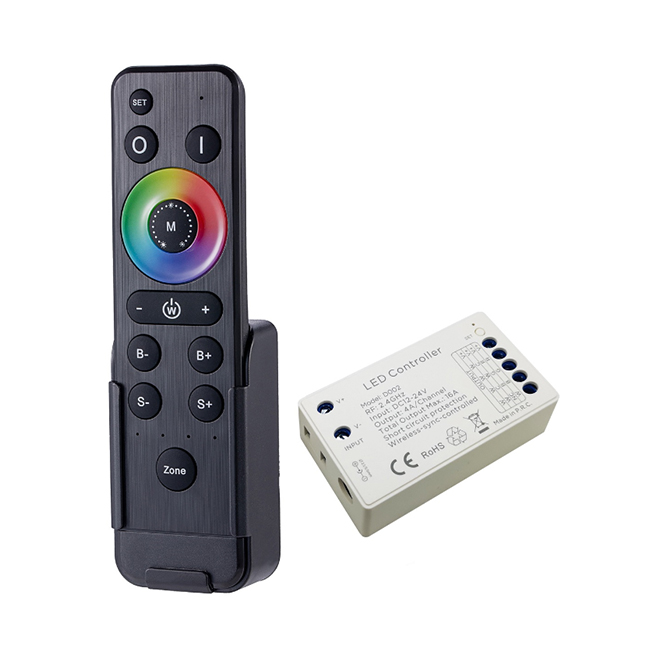
Compatible remote control
Typical Applications
Application Circuit 1:

Application Circuit 2: wireless-sync diagram
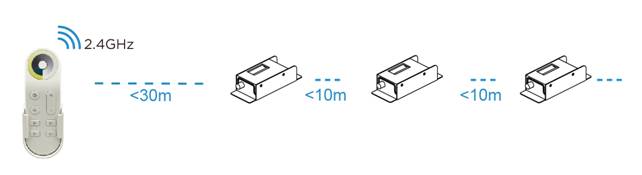
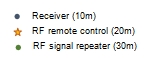
Tips: Further distances or special environments can be used in conjunction with WP86-AP (RF signal amplifier) to expand signal coverage.
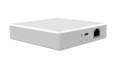
Application Circuit 3: Smart home application (Zigbee 3.0)

30 meters Wirless-sync by Zigbee 3.0
Precautions
1.The working voltage is DC12V~24V, and it must not be connected to other voltages;
2.Ensure that the wiring is correct and no short circuit before power-on;
3.It supports wireless-sync-dimming by remote control, please refer to the remote control setting manual for details;
4.PWM dimming frequency is adjustable. The maximum output load power corresponding to different PWM frequencies is different. Please do not overload it.
5.Warranty of this product is 3 years, exclude the artificial situation of damaged or overload working.
Product information for placing order
1. It is a constant voltage controller for 2-WIRE CCT LEDs, working voltage is DC12-24V;
2. With power-off memory storage function;
3. The PWM frequency is adjustable, 500Hz-12KHz, the factory default is 2KHz;
4. With high power watt output, the maximum current is 17A/CH, 12V200W/24V400W;
5. External antenna, convenient to extend the antenna outside the metal case when needed.
6. This product is designed the Tuya-ZS2S module and complies with the ZigBee 3.0 standard protocol. It needs to be used in conjunction with a ZigBee 3.0 gateway. The performance of Zigbee 3.0 will enable users to experience a high-quality and stable wireless intelligent system. It can also be connected to smart home hubs such as Amazon Alexa, Apple Home, and Google Assistant through smart gateways/bridges integrated with the matter-Zigbee protocol, such as the Philips Hue bridge and the Samsung SmartThings Station.
7. Integrated with multiple remote controls, it can be used in any combination to achieve single zone or partition control.
8. Short-circuit protection.
9. 3-year warranty.
Technical Parameters
| Working temperature | -20-60℃ | Supply voltage | DC12-24V |
| Output | 2 channels | Static power consumption | <1W |
| Max. output current | 17A*2CHs | Short circuit protection | Yes |
| Net weight | 80g | External dimension | L103*W40*H24 mm |
| Gross weight | 100g | Packing size | L110*W42*H28mm |
| Brightness range | 0-100% | CCT range | 100%WW-100%CW |
| RF frequency | 2.4GHz | Control method | Knob, remote control, TUYA-APP |
| Memory function | Yes | PWM frequency | 2KHz (factory default),500Hz,1KHz, 4KHz, 8KHz, 12KHz |
| Max. output current |
PWM<=2KHz: 17A PWM=4/8KHz: 13A PWM=12KHz: 10A |
Max. output power |
PWM<=2KHz:200W/12V; 400W/24V PWM=4/8KHz:150W/12V; 300W/24V PWM=12KH:120W/12V; 240W/24V |
Connection port instruction
Direction for use
- Connect the load wire at first, followed by the power wire; Please ensure short circuit can not occur between connecting wire before turning on the power;
- The built-in button knob of the dimmer can realize the functions of dimming and color temperature, and the two functions can be switched by short pressing the knob button;
2) When adjusting the color temperature, the color temperature display of the digital tube: C***, total 100 levels , from C000 to C100, means 100%WW-100%CW;
- The PWM frequency can be adjusted through the remote control or the knob button, and the digital tube PWM display: P***, there are 6 frequencies (the maximum load current value will also be relatively adjusted), as shown below:
| PWM frequency | Digital display | Max. output current/watt | |
| 500Hz | P005 | 17A 200W/12V | 17A 400W/24V |
| 1KHz | P010 | 17A 200W/12V | 17A 400W/24V |
| 2KHz | P020 | 17A 200W/12V | 17A 400W/24V |
| 4KHz | P040 | 13A 150W/12V | 13A 300W/24V |
| 8KHz | P080 | 13A 150W/12V | 13A 300W/24V |
| 12KHz | P120 | 10A 120W/12V | 10A 240W/24V |
PWM Frequency Adjustment operation :
1) by HX-RFBT-2.4G remote control: Press and hold the remote control “Set” for 5 seconds after switch off the dimmer by remote control(the dimmer is in off state) within10 seconds, display will show as: P***. Means enter “PWM adjusting” state. Pressing
to adjust the PWM frequency, pressing “Set” button again to save it after finish the setting operation. Then the dimmer return to power on state automatically.2) by HX-RFBT10-2.4G remote control: Press and hold the remote control “Set” for 5 seconds after switch off the dimmer by remote control(the dimmer is in off state) within10 seconds, display will show as: P***. Means enter “PWM adjusting” state. Press Brightness +/- keys to adjust the PWM frequency, pressing “Set” button again to save it after finish the setting operation. Then the dimmer return to power on state automatically.
3) by HX-RFBT12-2.4G remote control: Pressing DIY1->DIY2-> DIY1->DIY2-> DIY1->DIY2 (3 times for each) within 5 seconds after switching off the dimmer by remote control, display will show as: P***. Means enter “PWM adjusting” state.; press ∧/∨ to adjust the PWM, pressing “DIY1” button again to save it after finish the setting operation. Then the dimmer return to power on state automatically.
4) by HX-RFBT15-2.4G remote control: Pressing C->D->C->D->C->D (3 times for each, C-matching key, D-clearing key) within 5 seconds after switching off the dimmer by remote control, display will show as: P***. Means enter “PWM adjusting” state. Rotating the knob to adjust the PWM frequency, pressing “C” button again to save it after finish the setting operation. Then the dimmer return to power on state automatically.
5) by Knob button on controller: long press the knob button for 5 seconds to enter PWM adjustment, the digital tube of the dimmer will display P***, then turn the knob to select PWM, and then short press the knob to save after selection.
Please note: PWM setting operation should be finished within 1 minute, will automatically exit PWM adjusting status without save it after 60 seconds.
Reset and network configuration
This product uses the Tuya-ZS2S module and complies with the ZigBee 3.0 standard protocol. It needs to be used in conjunction with a ZigBee 3.0 gateway. The performance of Zigbee 3.0 enables users to experience a high-quality and stable wireless intelligent system. It can also be connected to smart home hubs such as Amazon Alexa, Apple Home, and Google Assistant through smart gateways/bridges integrated with the matter-Zigbee protocol, such as the Philips Hue bridge and the Samsung SmartThings Station.
Note: The application expandability of the intelligent system requires the compatibility of the gateway simultaneously.
When configuring the network, first connect the load light and power supply to the ZigBee 3.0 controller, and place it close to the ZigBee 3.0 gateway. The device has 2 reset methods, and you can choose according to your convenience:
(1) Power on the controller continuously five times, with each power-on duration not exceeding 10 seconds. You will see the load light flashing, and the device will enter the network configuration state.
(2) If the device has been configured for the network before, when it is in the connected state, you can directly delete the device on the mobile APP where it was previously added. You will see the load light flashing, and the device will enter the network configuration state.
When the device successfully enters the network configuration state, the load light will keep flashing until the network configuration is successful, or it will exit the flashing prompt state after flashing continuously for 30 seconds (the network configuration state will continue for up to 10 minutes).
When you can view the device on the mobile APP, it means that the network configuration is successful.
Examples of Network Configuration Applications
| APP | Gateway/bridge | Operation |
 |
PHILIPS-hue |
Install the Philips Hue APP — Create an account — Add the Philips Hue bridge — Reset the device and Add the lighting fixtures. Available to connect to Amazon Alexa, Apple Home and Google Assistant through Hue. |
 |
Samsung- SmartThings |
Install the Samsung SmartThings APP — Create an account — Add the SmartThings Station —Reset the device and Add the lighting fixtures Available to connect to Amazon Alexa, Apple Home and Google Assistant. |
 |
Tuya- THP10-Z-X |
Install the Smart Life APP -- Create a home -- Add the Tuya ZigBee 3.0 gateway -- Reset the device and Enter the gateway interface to add sub - devices. Available to connect to Amazon Alexa, Apple Home, Google Assistant, Yandex Alice. |
Wireless-synchronization function
Receivers will transmit the control signals from the remote control and self-inspection the work statues for each other, so multiple receivers in same zone will wireless-sync-work completely.
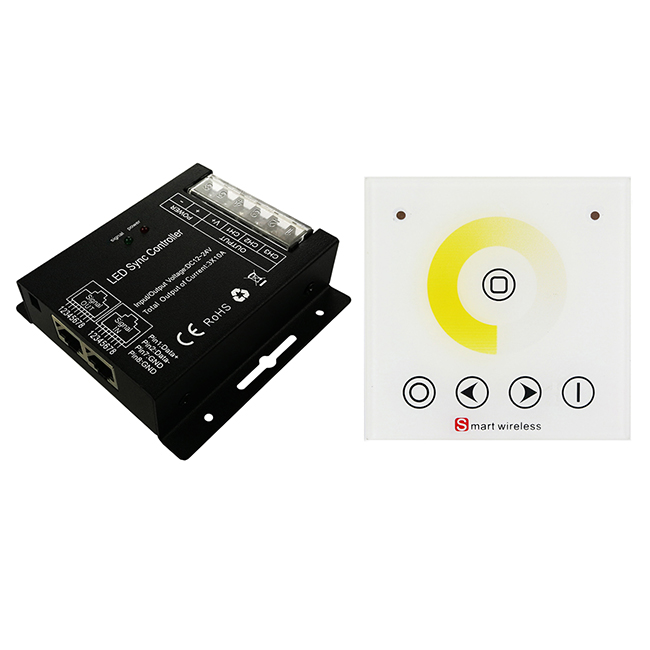
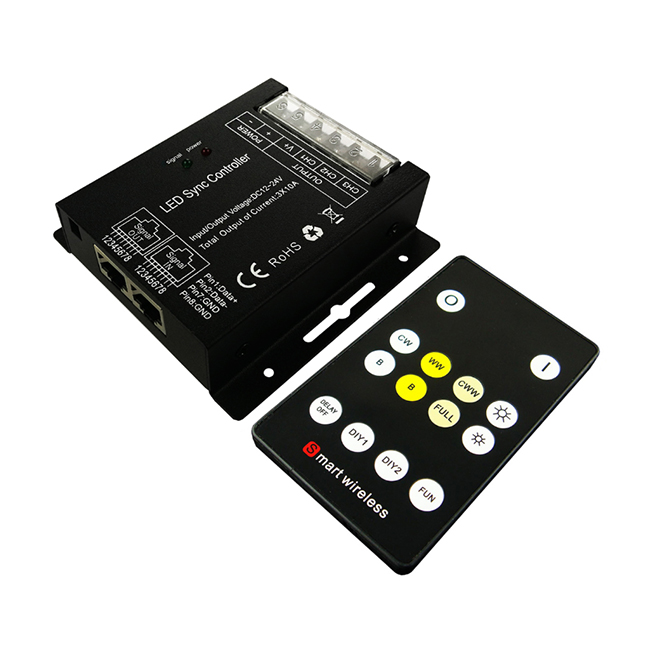
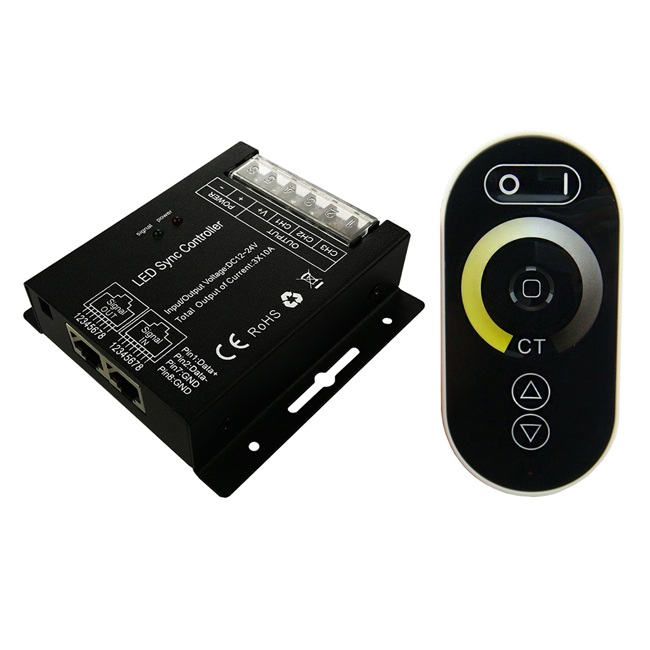
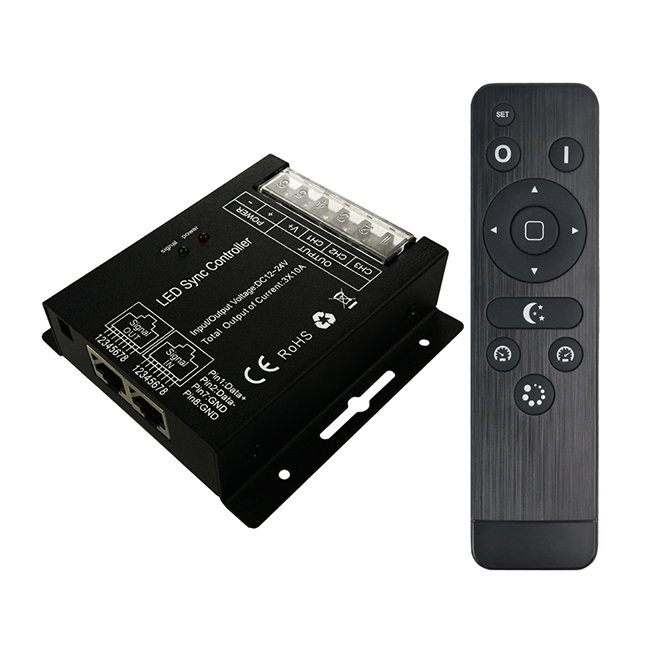
Compatible remote control
|
RFBT05B-2.4G (4 zone) |
RFBT-2.4G (1 zone) |
RW12 (1 zone) |
RW42 (4 zone) |
 |
 |
 |
 |
|
RFBT10-2.4G (4 zone) |
RFBK-DIMCCT-2.4G (4 zone) |
RFBT12-2.4G (1 zone) |
RFBT02B-2.4G (1 zone) |
 |
|
 |
 |
|
RFBT15-2.4G (1 zone) |
HWP86-CCT-2.4G (1 zone) |
HWP86-DMX-CCT-2.4G-4S (4 zone) |
THP10-Z-X (TUYA-Zigbee-gate way) |
 |
 |
 |
 |
Typical Applications
Application Circuit 1:
Application Circuit 2: wireless-sync diagram
Tips: Further distances or special environments can be used in conjunction with WP86-AP (RF signal amplifier) to expand signal coverage.
Application Circuit 3: Smart home application (Zigbee 3.0)
30 meters Wirless-sync by Zigbee 3.0
Precautions
1.The working voltage is DC12V~24V, and it must not be connected to other voltages;
2.Ensure that the wiring is correct and no short circuit before power-on;
3.It supports wireless-sync-dimming by remote control, please refer to the remote control setting manual for details;
4.PWM dimming frequency is adjustable. The maximum output load power corresponding to different PWM frequencies is different. Please do not overload it.
5.Warranty of this product is 3 years, exclude the artificial situation of damaged or overload working.
Product information for placing order
| Product name | Item number |
| RF CCT controller for 2-wire CCT LED strips | HX-T6-Z1(controlled by knob/RF/TUYA-Zigbee 3.0) |

 Jane-Hoion